Installation Guide
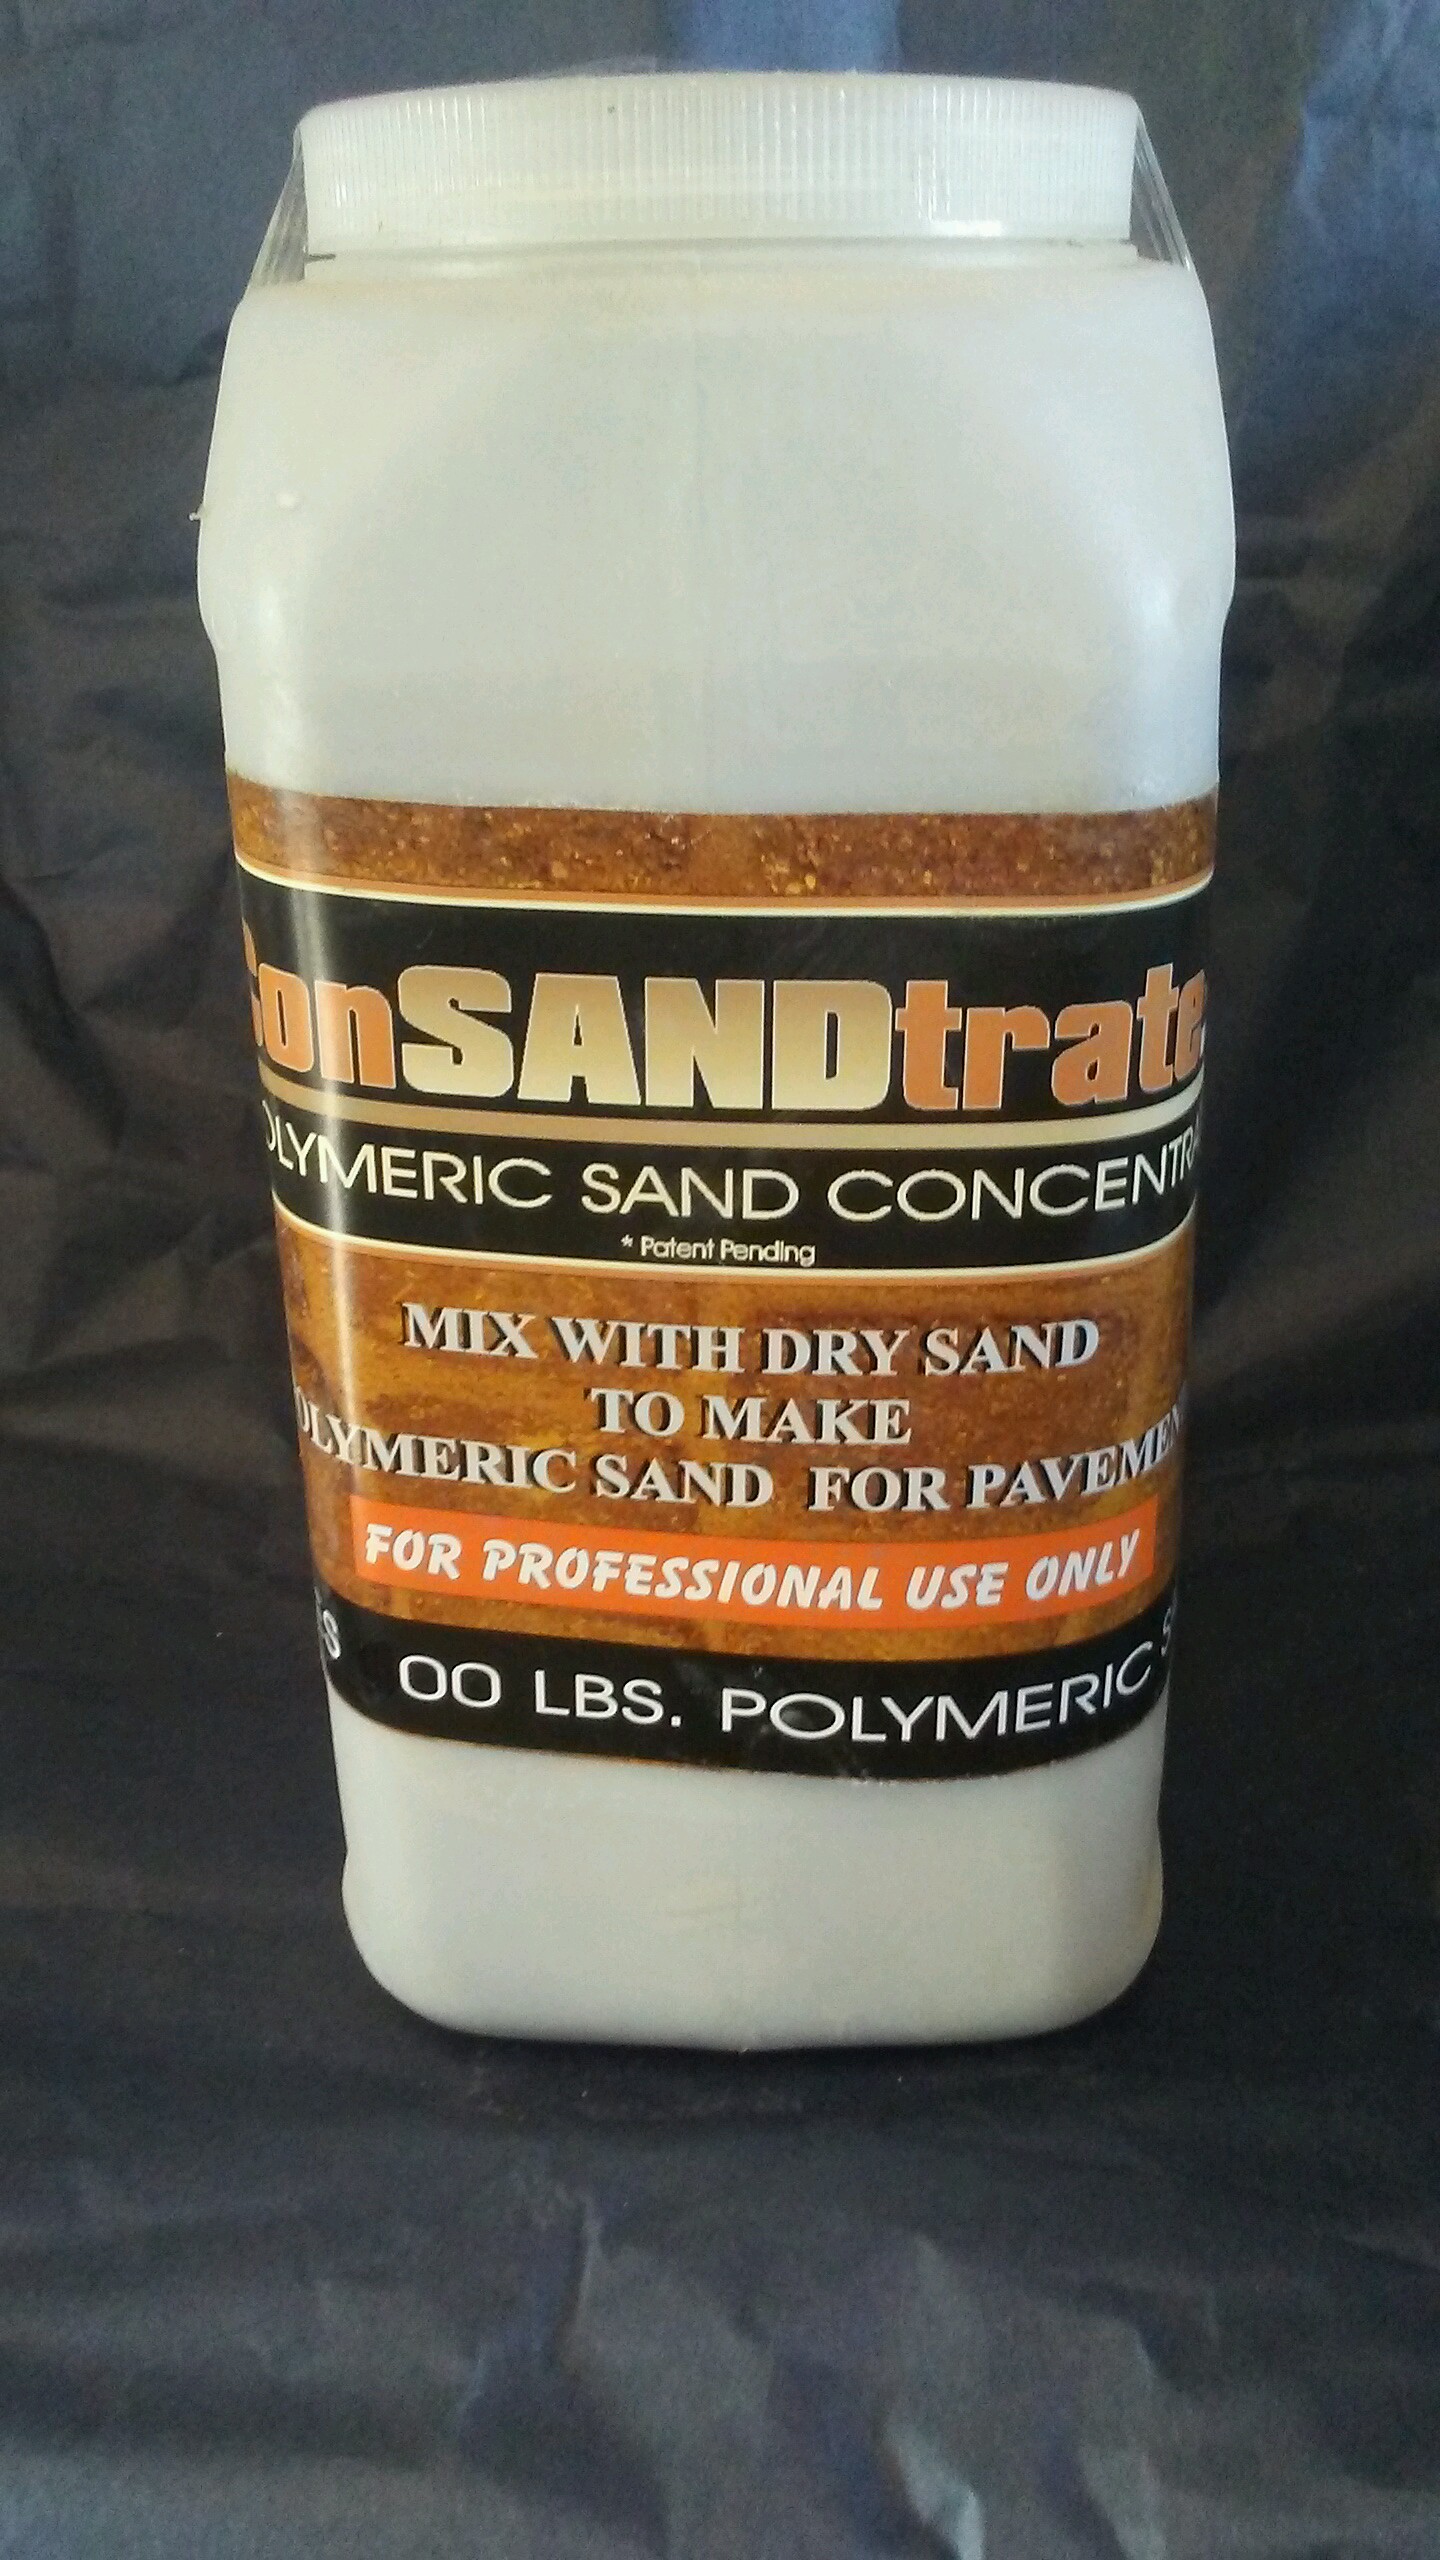
ConSANDtrate is a proprietary blend of ploymers, calibrated sands and fillers that, when mixed with local sand, can be used to fill the joints between pavestones, flagstone, cement slabs and wherever sand, crushed granite or other fillers are used as a filler between for the joints. This sand takes more time to get into the joints, but is also more difficult to wash out. For best performance, blend 1 part ConSANDtrate to 10 parts silica sand or masonry sand. For smaller cracks, use slightly less sand to achieve a higher density of binding agent / sand ratio. Sealing the joint or the entire surface area of the slab or pavers (after the polymeric sand has cured for at least 48 hours) will add another layer of protection for your particular project.
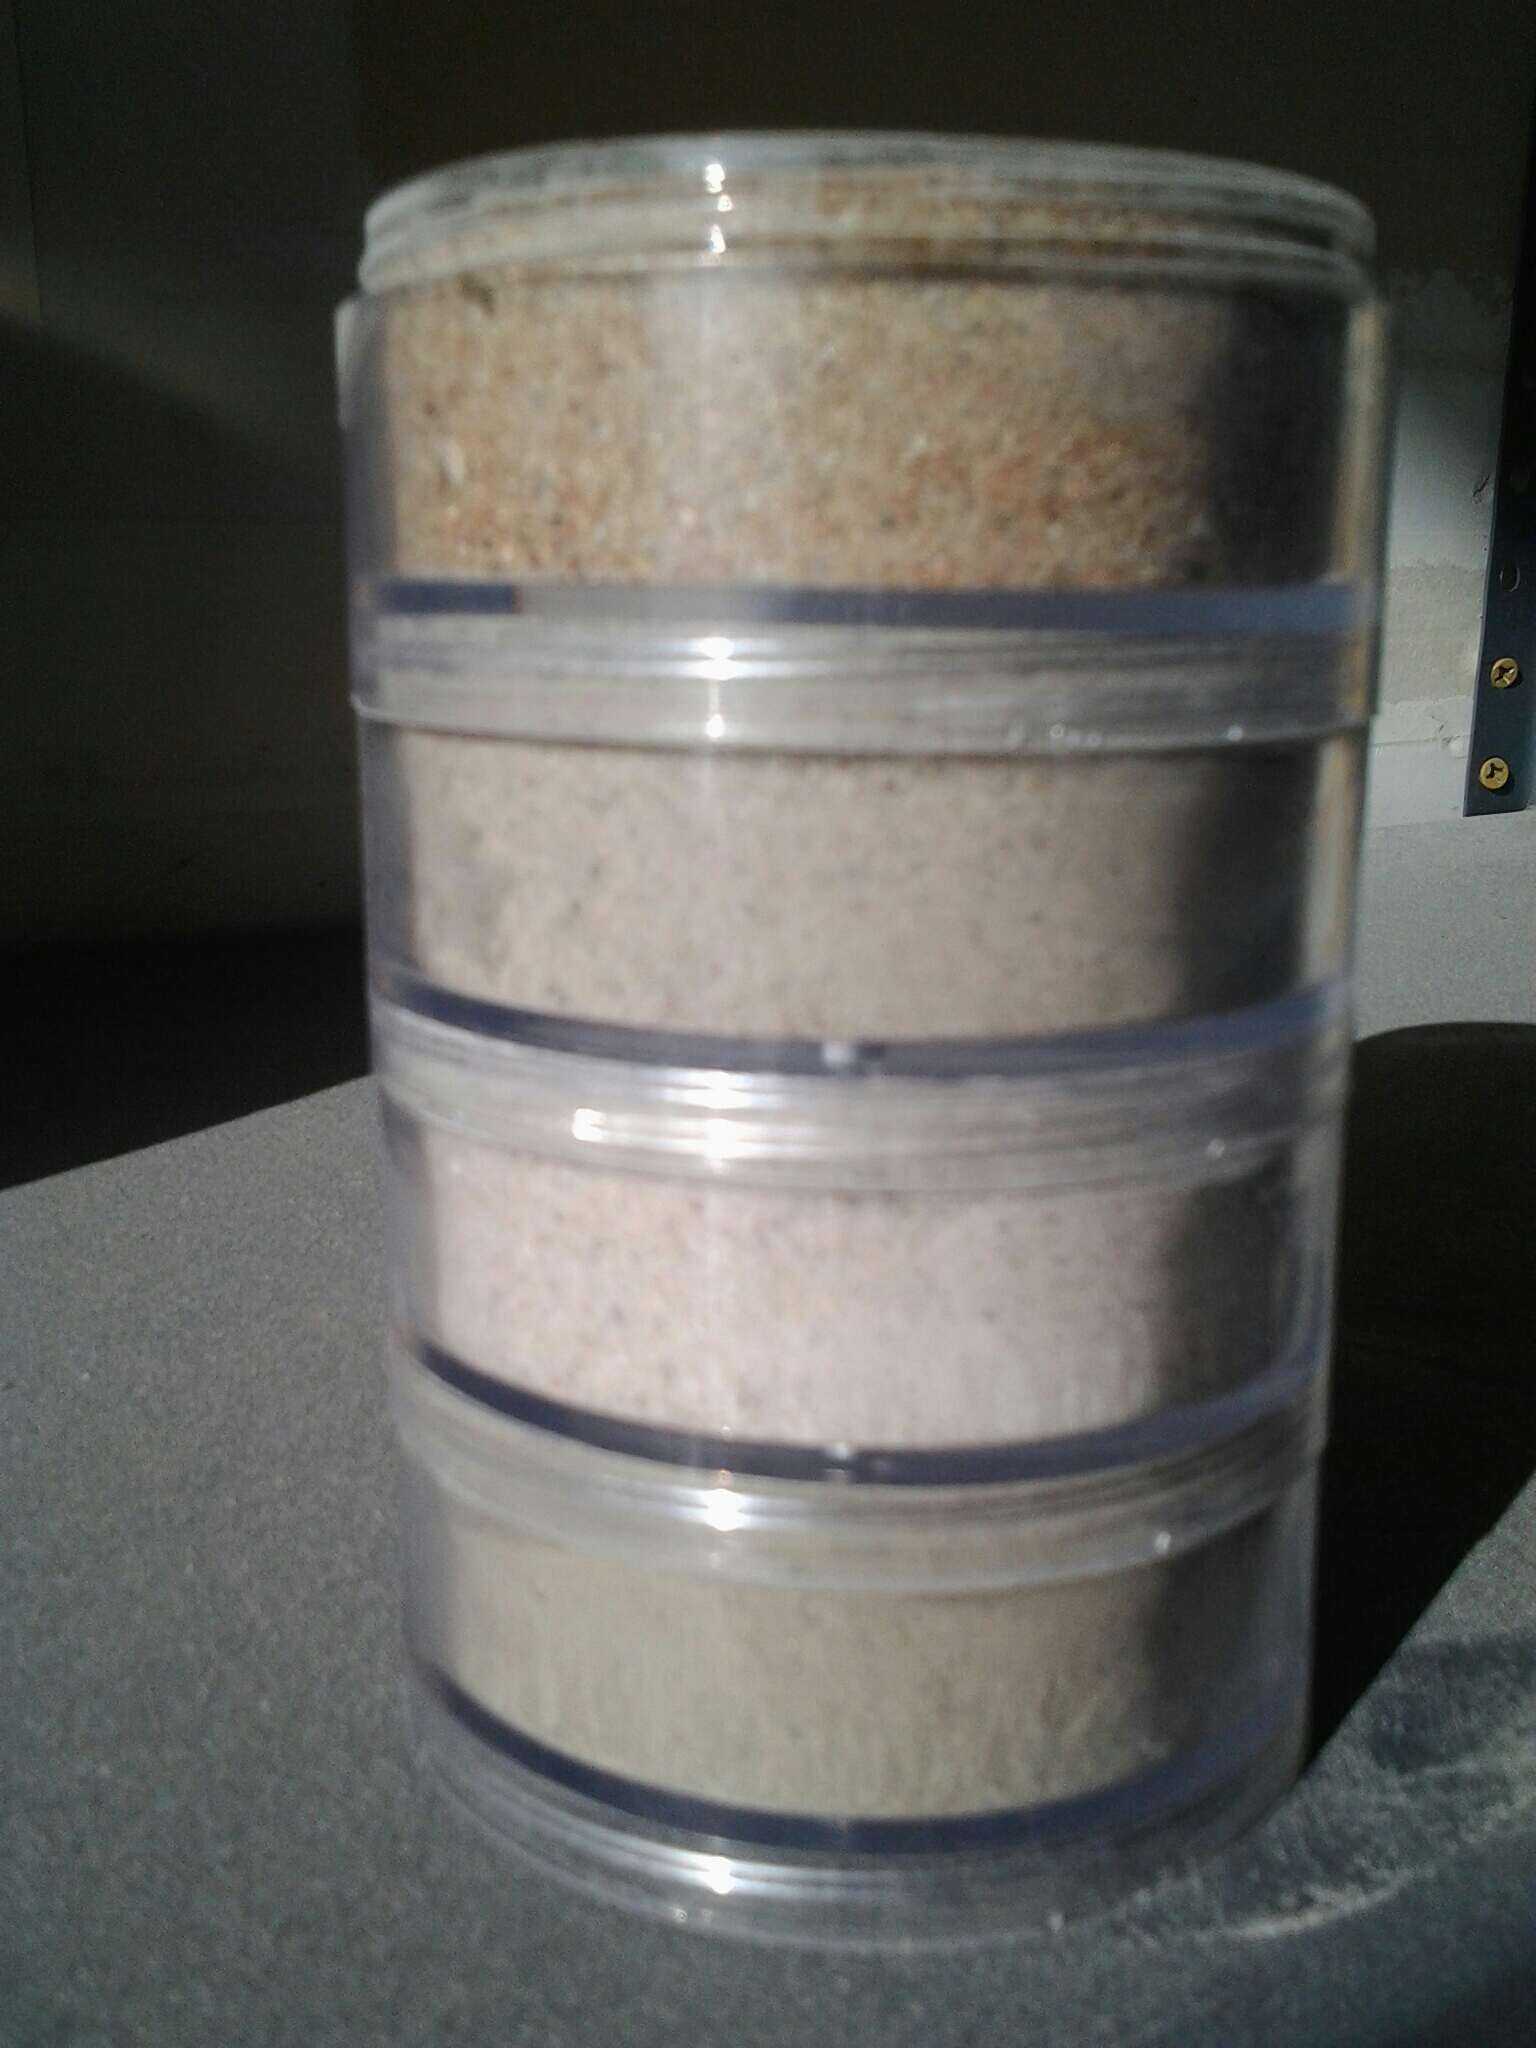
ConSANDtrate is a joint sand stabilizer additive that is mixed on the job site. It can be mixed in a 5 gallon bucket, wheel barrow, by hand or in a mixer. Using a concrete/mortar mixer is faster and ensures proper mixing. Depending on the sand used for the joints, ConSANDtrate is mixed 10:1 or 10 pounds ConSANDtrate per 100 pounds of sand. This 100 pound mix with ConSANDtrate will cover approximately 170 - 200 square feet (depending on paver size, thickness and joint width).It's a good idea to blend a small sample of the sand you wish to use with the ConSANDtrate until you become more familiar with the product. For mixing on-site in 5 gallon buckets, fill the bucket 1/3 with sand, then add 1/3 the amount of ConSANDtrate and repeat until full.
There are joint sand stabilizers on the market, such as ConSANDtrate , which help to bind the joint sand together. Use of these products will improve washout resistance and make it more difficult for ants to push the sand out. When installing polymeric sand into any joint 1" or greater, the depth of the sand needs to be equal to the width. In short, if your gap is 1" wide, install the polymeric sand 1" deep. Back-fill and deep cracks or voids with pea gravel or dry sand up to the desired lever before installing the polysand. A thin, final topcoat will not work. Warning: ConSANDtrate is a water activated product. Do not spread the mixture over a wet pavement or if it looks like it will rain soon.
With the layer of joint sand spread, run the plate compactor again in the same method as the first compaction. If there
is another person to help, have them continue to spread the sand around the pavement with a push broom as the compactor is run. If there is no sand over the joint, it is a wasted pass with the plate compactor. Be careful not to leave piles of sand for the plate compactor to run over. The pavers under the piles will be pushed down further into the bedding sand than the rest of the pavement.
Continue sweeping and compacting until the joints are full. Stop the compactor and spot check the pavement with a 2"
putty knife. Push straight down with the knife, if the sand pushes down, continue sweeping and compacting. Once the joints are full, thoroughly sweep off the entire pavement. ConSANDtrate can be shoveled into sealable pails to be used later on future projects.
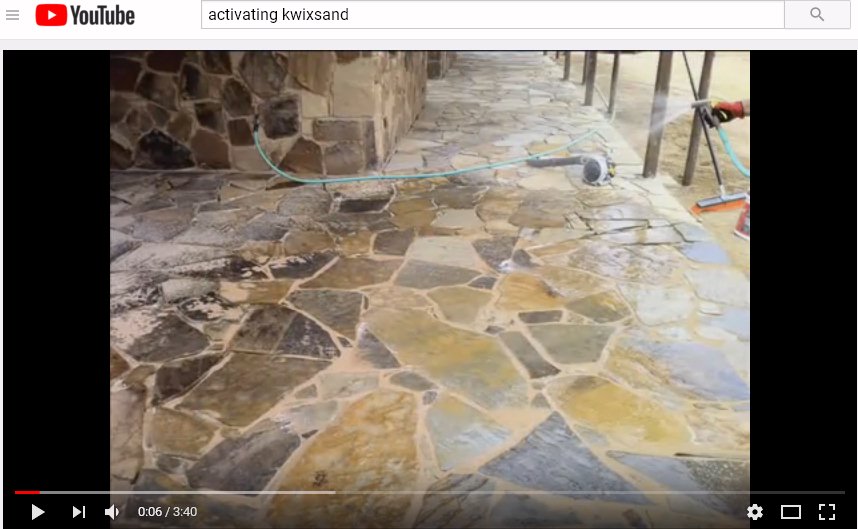
Next use a leaf blower to blow off any remaining sand and ConSANDtrate from the surface. This is also the time to help contour the tops of the joints. The joint sand should be at the bottom of the chamfer (the rounded top edge of the paver), not the top of the paver. Once blown off, it is time to activate the ConSANDtrate with water. Mist the surface with a garden hose sprayer set to fine, or use an insect type sprayer set to fine; DO NOT FLOOD THE JOINT WITH WATER AS THIS WILL WASH AWAY THE BINDING AGENTS. If you see white foam
your adding too much water! For best results, set the hose sprayer to a misting shower and thoroughly wet the pavement. Another helpful technique is to apply a very light spray over the entire joint. This will begin to activate the binding agents. Then go back over the joint (working in 10 to 20 ft. sections-not the entire joint), gently spray any dust or residue that may have be swept into the pores of the concrete surrounding the joint back into the joint. This will eliminate any shadowing effect on the surface areas surround the treated joint. Wait approximately 5 to 10 minutes, depending on the density of the sand your are using, temperature and humidity. Repeat the misting process until you have saturated the joint from the top of the joint to the bottom. You can check to determine if more water needs to be applied by placing a small knife blade or nail into the joint; no powder should be visible on the testing instrument used. Once activated, the surface is safe to walk on, but it best to let it dry for at least a few hours before opening the pavement to traffic. Depending on temperature and humidity, the joints will take 1 - 3 days to completely dry.

.jpg)